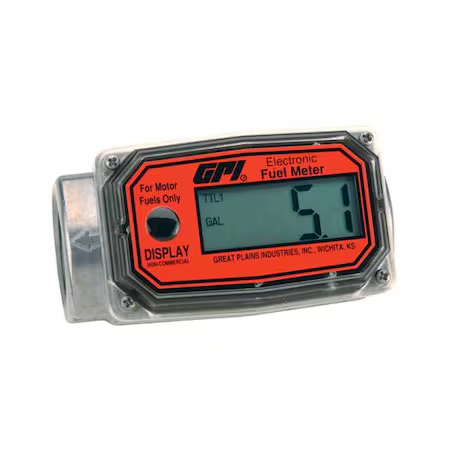
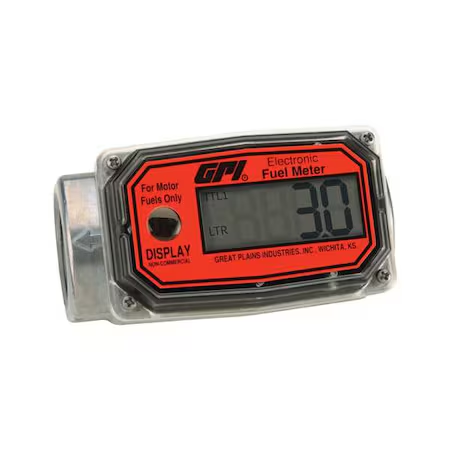
GPI 01A31GM-U (01N31GM-U) electronic digital fuel meter measures DEF (diesel exhaust fluid), also known as urea. This compact electronic device is excellent at taking fuel measurements and has an accuracy of +/-2.5%.
Working Mechanism:
- GPI 01A31GM-U electronic digital fuel meter maintains two totals - batch total (TTL1) for single use and cumulative total (TTL2) for continuous measurement.
- Turn On the meter by briefly pressing the DISPLAY button.
- The meter displays batch or cumulative total from last use.
- To reset the batch total to zero, hold the DISPLAY button for 3 seconds.
- The meter turns Off automatically if not used for more than one minute.
Features:
- GPI 01A31GM-U electronic digital fuel meter has a large LCD screen for easy observation.
- It is powered by two easy-to-replace AAA alkaline batteries.
- This fuel meter has nylon construction and sealed electronic circuitry to protect it from damage.
- It functions well on pumps having flow within the range of 3 - 30 GPM.
- This electronic fuel meter comes with permanent factory calibration for petroleum measurements in gallons.
Compatible Accessories:
- Fuel Strainers: These strainers have a mesh size of 500 microns to stop debris from entering the meter.
Standards and Approvals:
Frequently Asked Questions:
Q. Can this GPI fuel meter withstand severe temperatures?
A. GPI 01A31GM-U electronic digital fuel meter can work at temperatures ranging from 14 to 130 degrees Fahrenheit.
Q. How to install this GPI fuel meter?
A.
- GPI 01A31GM-U can be mounted on the fuel hose's end or directly alongside it, in either horizontal or vertical orientation.
- Remove the nozzle from the hose and wrap all connections with three to four wraps of thread tape.
- Attach the meter to the hose with the arrow pointing to the flow direction.
- Attach the nozzle to the meter.
- Use the enclosed 3/4 inch fitting.
- Tighten the meter at the housing ends with a wrench.
Q. How to replace the batteries of GPI fuel meters?
A.
- Unscrew the four screws from the face of the meter and lift the faceplate.
- Replace the old batteries with the new ones and check for corrosion on the terminals.
- Fasten the screws on the faceplate and make sure that the O-ring is perfectly seated to avoid moisture entry.
 Change Country


