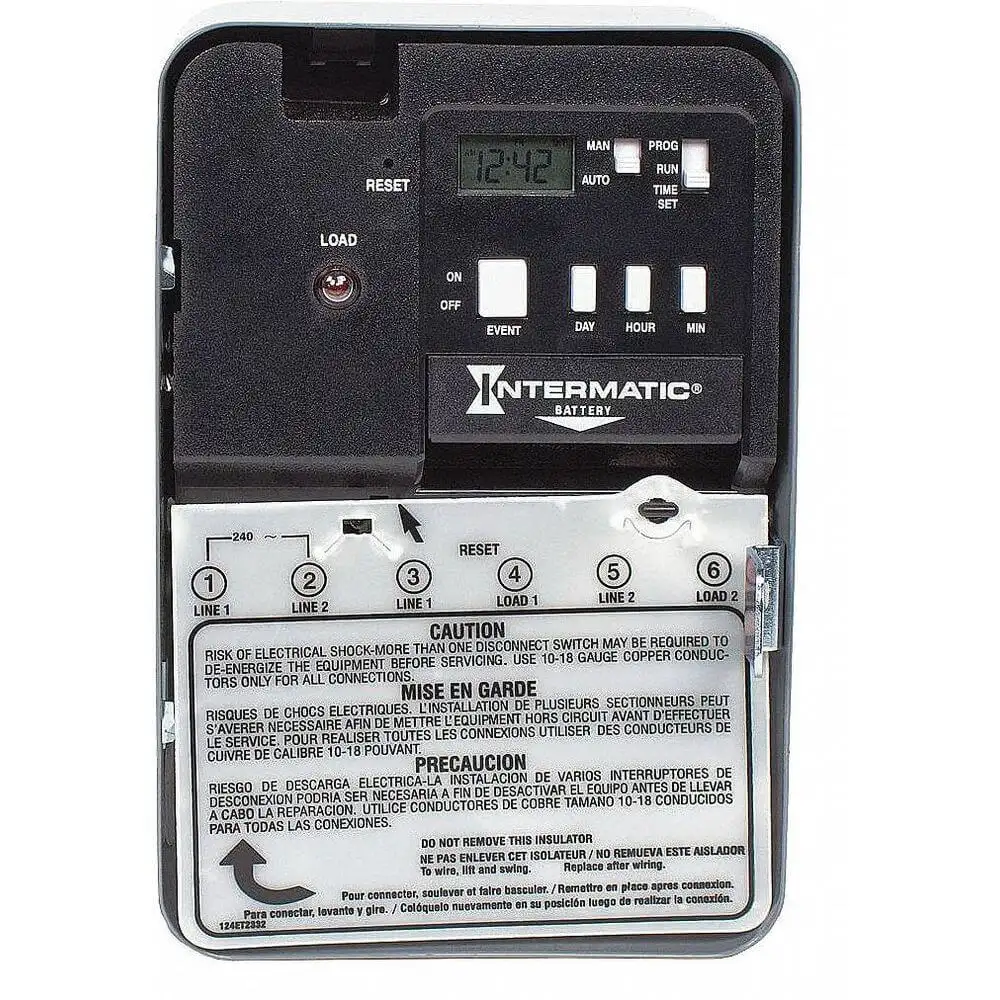
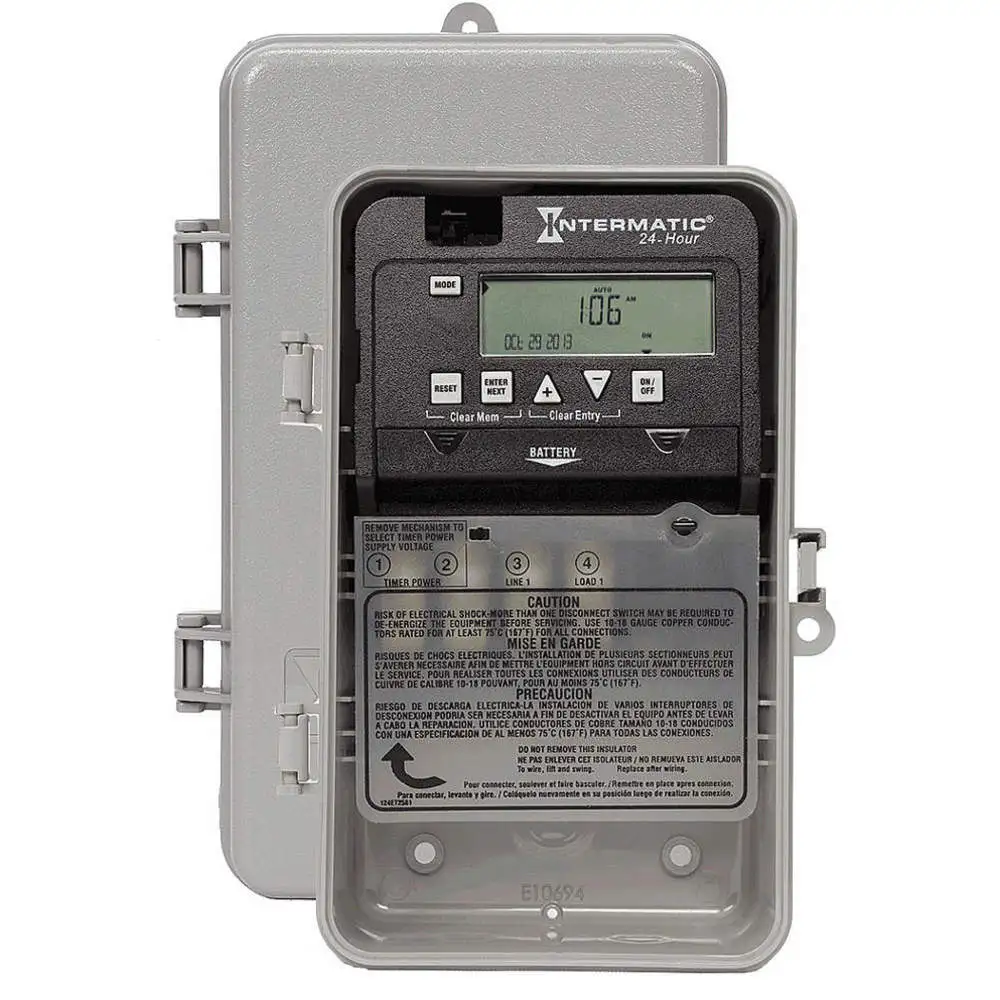
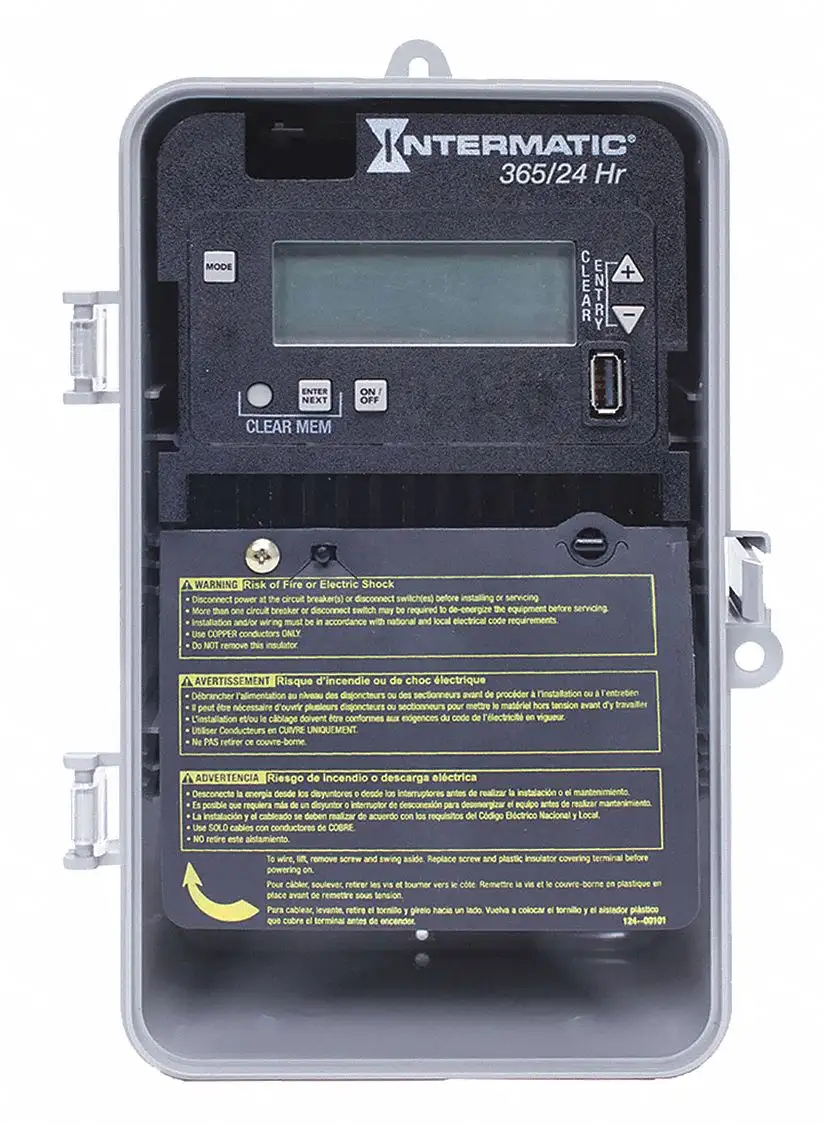
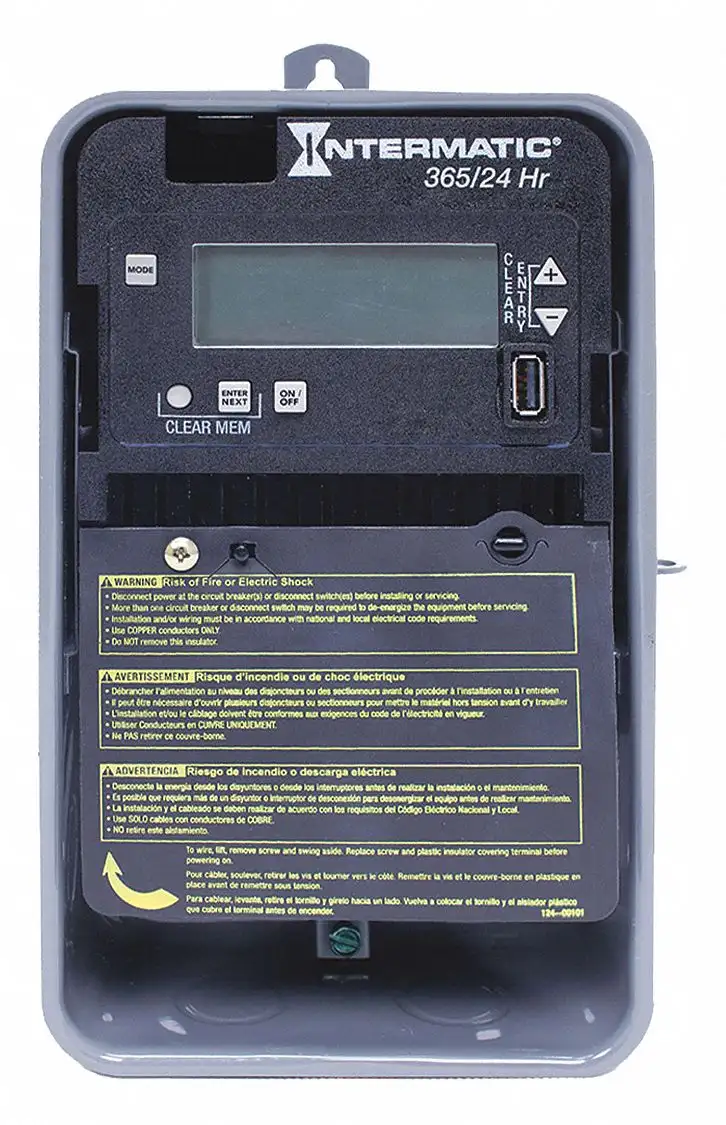
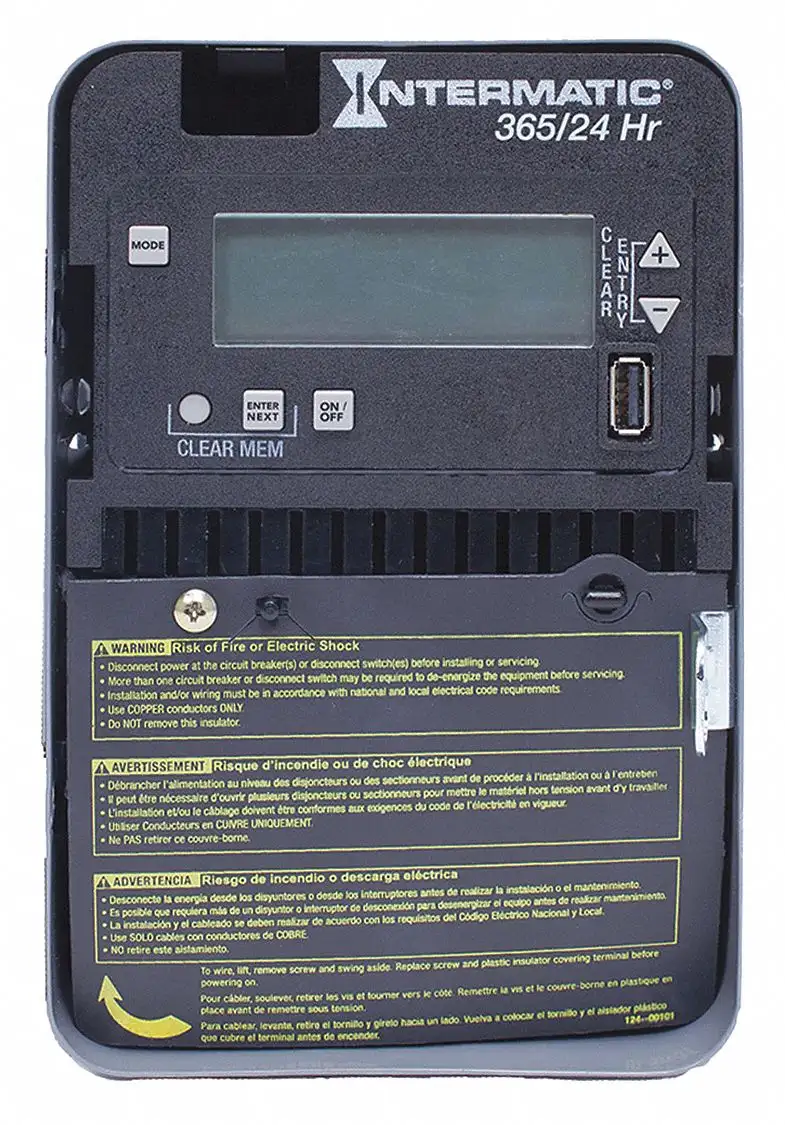
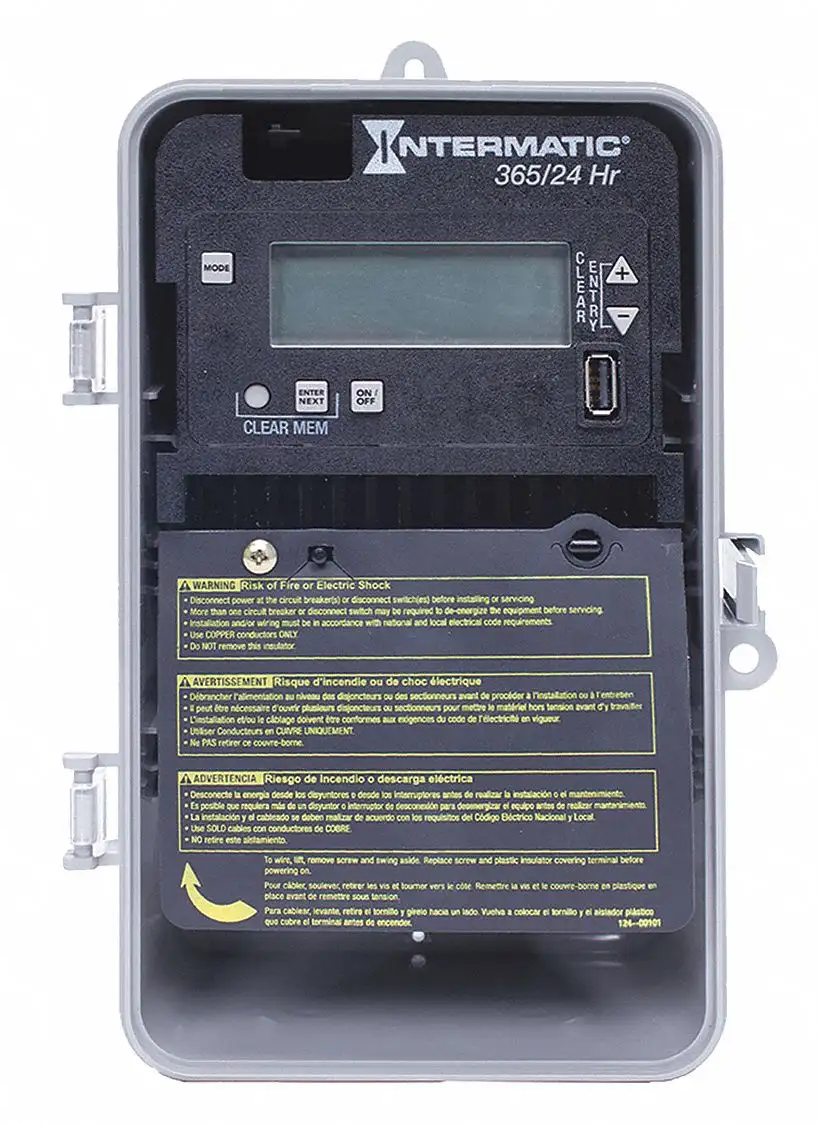
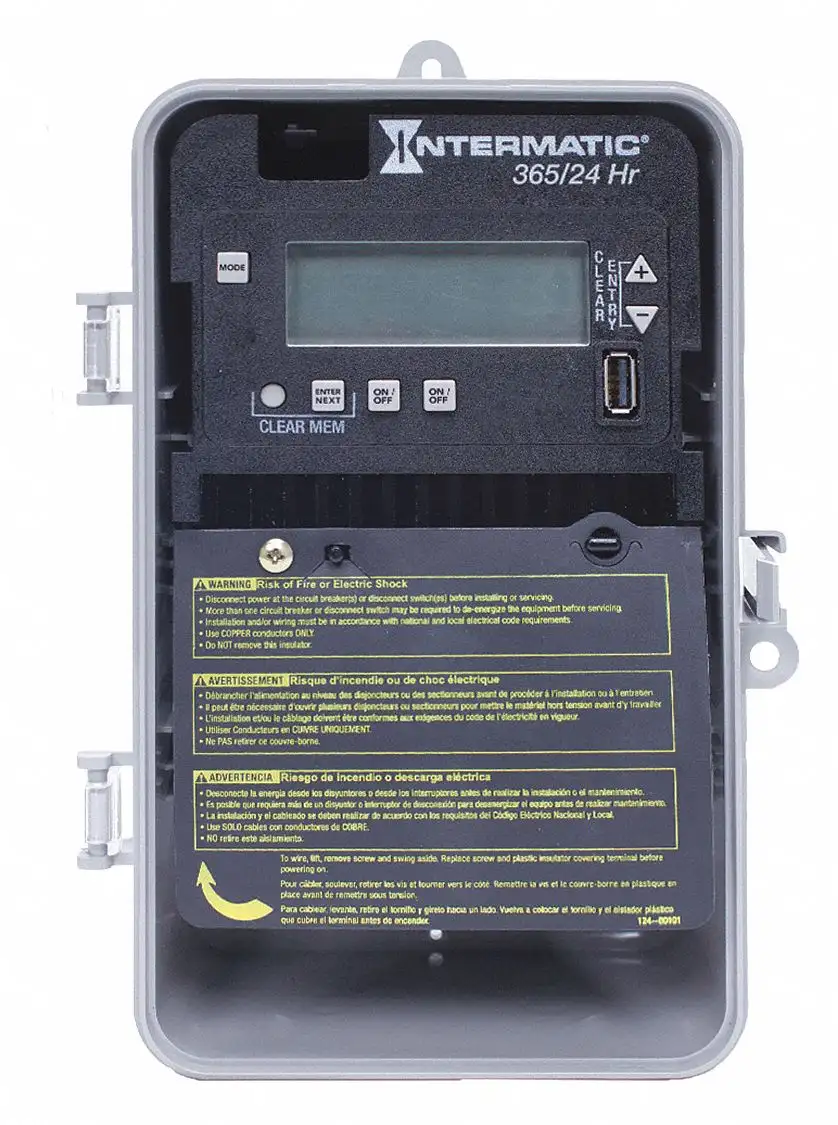
Intermatic FM1D14-AV-U digital timer optimises energy usage, automates processes and enhances security by activating and deactivating devices at specific intervals. Its digital interface enables accurate programming, ensuring seamless operations without manual intervention. This Grasslin digital timer is employed in industrial and commercial settings for precise time-based control of various systems.
Working Mechanism:
- The timer relies on an internal clock and user-programmed settings.
- It continually monitors the current time and cross-references it with the programmed schedule.
- The schedule includes specific actions (ON and OFF) designated for certain times.
- At the programmed time, the timer's internal mechanism triggers a switch action.
- This action either completes or breaks an electrical circuit, controlling the connected device's power supply.
Features:
- Intermatic FM1D14-AV-U Grasslin digital timer has 24-hour / 7-day mode, allowing scheduling to accommodate different operational requirements throughout the week.
- It has a single pole double throw (SPDT) contact form that enables switching between two separate circuits, expanding control capabilities.
- This Grasslin digital timer has 15A capacity and 1/2 HP at 120V or 1 HP at 240V to handle substantial electrical loads.
- It has 14 electronic events for precise scheduling of actions, allowing complex automation.
- This timer is equipped with panel mounting, simplifying integration into existing systems.
- It has adjustable timing range of 1 minute to 24 hours to ensure precision in scheduling actions.
- This digital timer has a built-in battery that ensures programming retention during power outages, maintaining uninterrupted operations.
- It can be operated at temperatures ranging from -40 to 131 degrees F.
- This Grasslin digital timer offers a clear display for measuring 1/2 inch in height and 1 inch in width, providing user-friendly visibility.
- Customers looking for timers with electronic and elctromechanial variants can choose Intermatic SPST electronic timers and electromechanical timers, respectively.
Compatible Accessories:
- Intermatic 4GAA2 25 feet cord, 4GAA8 50 feet cord and 4GAC7 10 Feet Cord: These cords offer extended reach for connecting the timer to distant power sources, enhancing the timer's flexibility and convenience of placement. They ensure seamless integration of Grasslin timer into various environments, providing a practical solution for optimising operations and control of electrical devices.
Frequently Asked Questions:
Q. What types of timers are there?
A. There are two primary categories of light timers: mechanical and electrical, which are available as a plug-in or hardwired modules. Astronomical and photocell timers are actually forms of electronic timers, but because they are so dissimilar from one another, we have to split them.
Q. What is a 7-day timer?
A. Compact digital time switches called programmable 7-day timers offer precise timing and the option of daily or weekly programming. They have push buttons and display prompts for quick and easy configuration.
Q. What benefits do an electronic timer have over a mechanical one?
A. Both of them operate similarly and are capable of carrying out the same tasks. A mechanical timer is constructed as a massive, grey, metal box that may stand out significantly in your home's decor. Mechanical timers are typically larger, last longer and can take more electrical load than a digital timer.
Q. Can I program this Grasslin digital timer to turn my outdoor lights ON at sunset and OFF at a specific time later in the evening?
A. Yes, you can program the timer to activate at sunset and deactivate at a predetermined time, allowing precise control over outdoor lighting.
Q. What happens if the timer is not connected to neutral?
A. Neutral wires help to carry the circuit back to the original power source. They bring the circuit to the ground or busbar for complete current circulation within the electrical system. Without the neutral wire, instabilities might occur in the system, leading to unstable voltages, unexpected currents and the risk of an electric shock.
Q. How do I install this temperature control?
A.
- Mount the temperature control unit securely in the desired location.
- Connect the power supply to the control unit.
- Attach the external temperature sensor to the designated port.
- Set the desired temperature using the controller's interface.
- Adjust the differential setting for precise control.
- Connect the control unit's relay output to the equipment.
- Power on the equipment and monitor temperature regulation.
- Fine-tune settings as needed for optimal performance.
 Change Country

