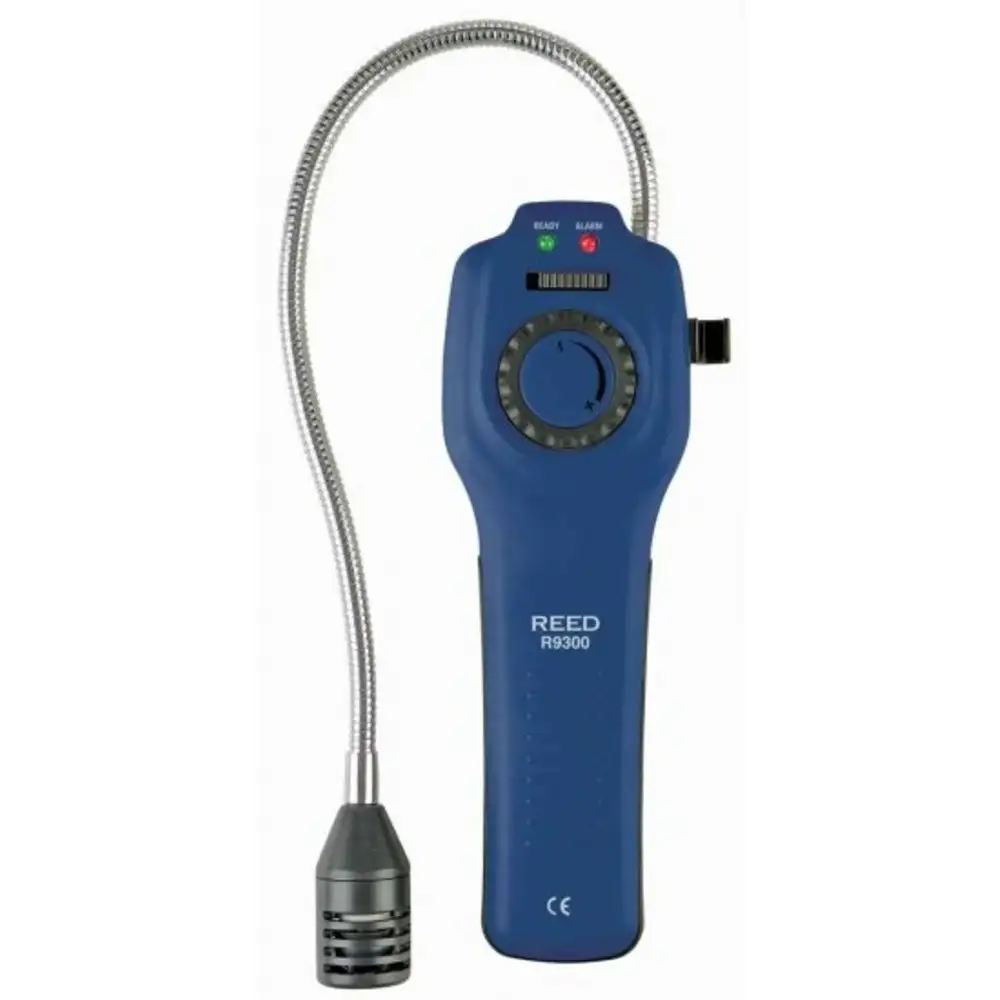
Reed Instruments R9300 combustible gas leak detector is used for detecting natural gas, ethane, benzene, methane, propane, acetone, butane, alcohol, ammonia, gasoline, jet fuel, lacquer, industrial solvents, paint thinner and naphtha.
Working Mechanism:
- A flammable gas sensor contains a platinum coil which gets heated when it comes in contact with gaseous reactants.
- This raises the temperature within the coil, making the sensor sound the alarm and alert people.
Features:
- It features a user-adjustable sensitivity wheel that accurately detects small leaks with a measuring range of 50 ppm (parts per million).
- This detector comes with an alarm that is pre-set at 10 percent LEL (lower explosive limit) for detecting methane gas in the environment.
- It also includes an earphone jack to hear the alarm in loud environments, a soft carrying case and three C-cell batteries and a replaceable sensor tip.
- This one-handed operation device has a 16-inch gooseneck for hard-to-reach areas and audible / visual indicator for a quick indication of gas presence.
- The brand's R9300-NIST combustible gas leak detector also offers a NIST certificate.
Compatible Accessories:
- Reed Instruments CA-05A Soft Carrying Case: This polyester carrying case can accommodate the R9300 combustible gas leak detector for storage and portability. It features a side compartment for accessories and has an adjustable shoulder strap and belt hook to easily carry around.
Standards and Approvals:
Frequently Asked Questions:
Q. What is LEL?
A. LEL or lower explosive limit is defined as the lowest concentration of a gas or vapour that will burn in the air. As the amount of detectable combustible gas rises, an LEL sensor will display a readout from 0 to 100 percent. LEL is important because it is a primary indicator that depicts when a gas is moving into the larger zone to become explosive.
Q. What is the tick rate and how can you adjust it?
A. The tick rate tells when the sensor is getting close to a gas leak (in the tip of the instrument). Users can adjust it by using the rotary wheel in the centre of the instrument. Simply move the wheel clockwise to increase the frequency or counter-clockwise to decrease it.
Q. How to replace the sensor?
A.
- Turn the instrument off.
- Remove the upper tip guard by pressing straight up from the alignment notch that separates the two halves of the tip guard.
- Pull the sensor straight up from its tip housing.
- Replace the sensor, pressing it straight in.
- Reassemble in reverse order.
 Change Country

